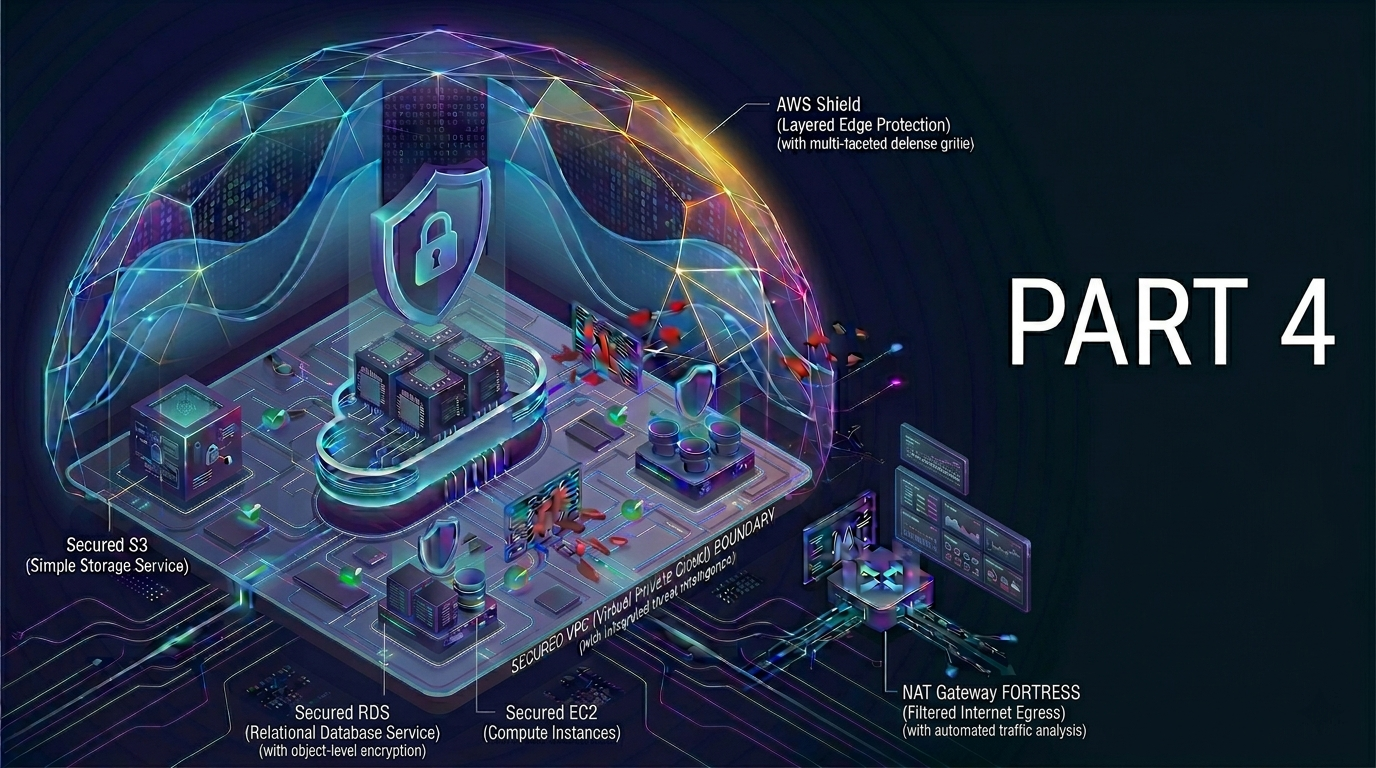
After deploying the EC2 (application-tier) behind the Application Load Balancer (ALB), we’ll privately deploy RDS (database-tier) and S3 (storage-tier) by following the principle of least privilege. The RDS is only accessible from private EC2 while S3 assets are not publicly accessible.
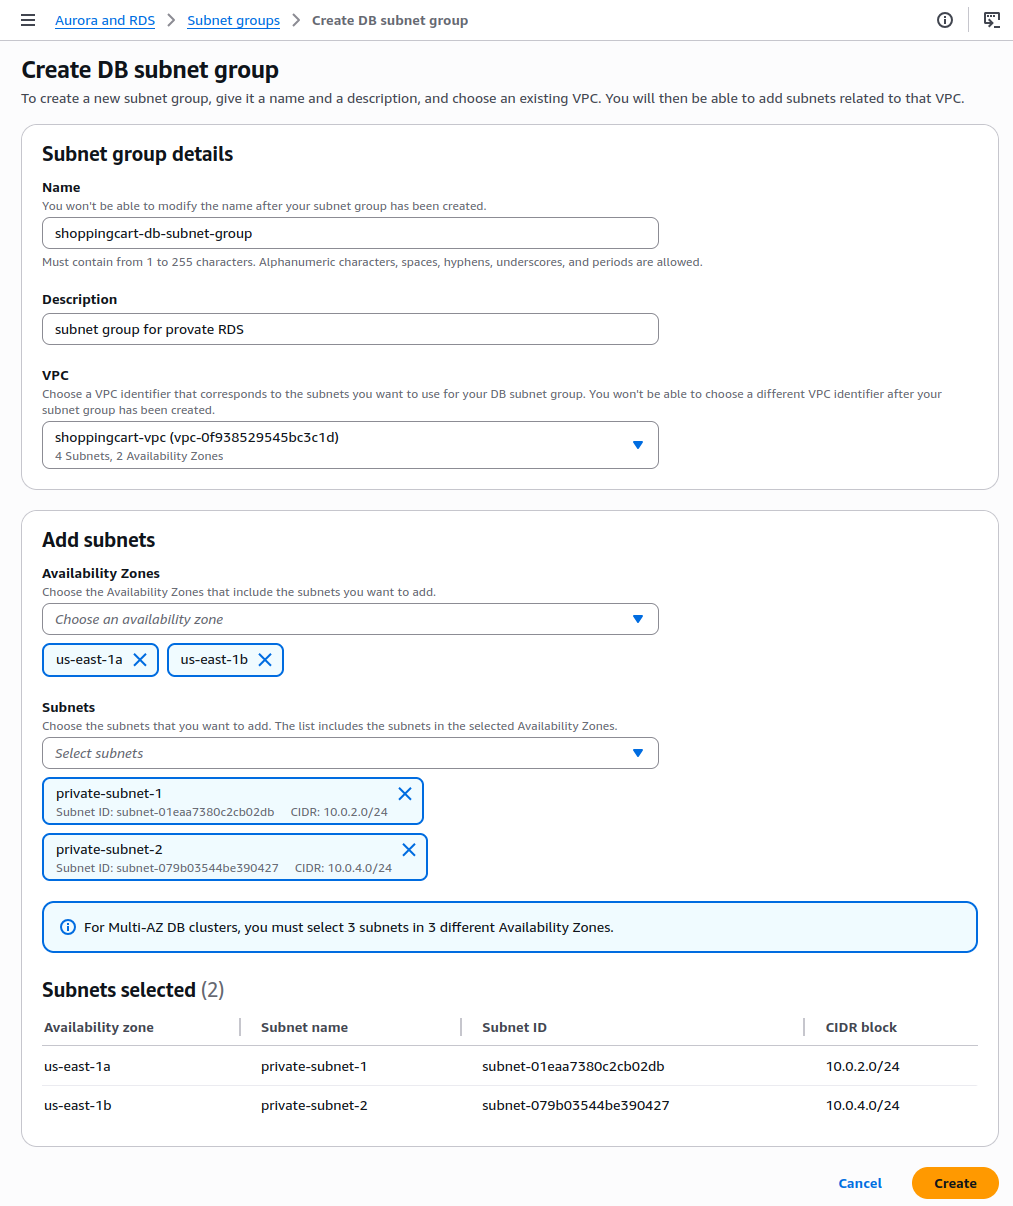
Step 1: Setup RDS Subnet Group
- Go to Aurora and RDS → Subnet groups
- Click Create DB subnet groupName:
shoppingcart-db-subnet-group - Description: Subnet group for private RDS
- VPC:
shoppingcart-vpc - Add Private Subnet 1 and Private Subnet 2
- Select the correct Availability Zones
- Click Create DB subnet groupName:
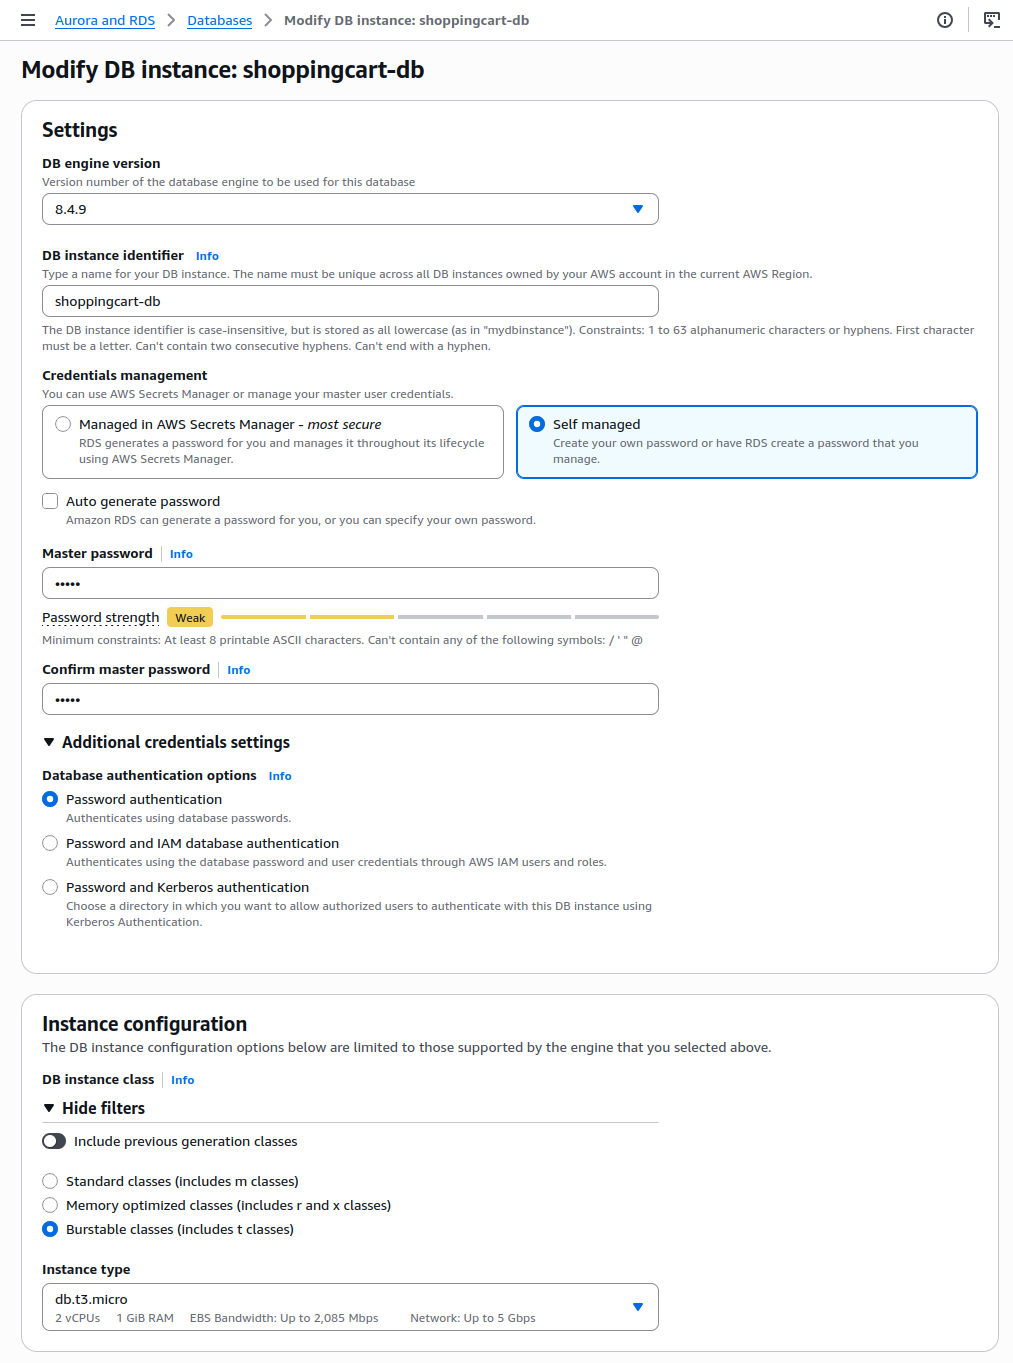
Next, we’ll launch RDS instance
- Go to RDS, click Databases, click Create database
- Select Standard Create
- Engine: MySQL or PostgreSQL
- Templates: free tier
- DB instance identifier:
shoppingcart-db - Credentials: Set a master username and password (store securely)
- DB instance size: Choose free-tier (
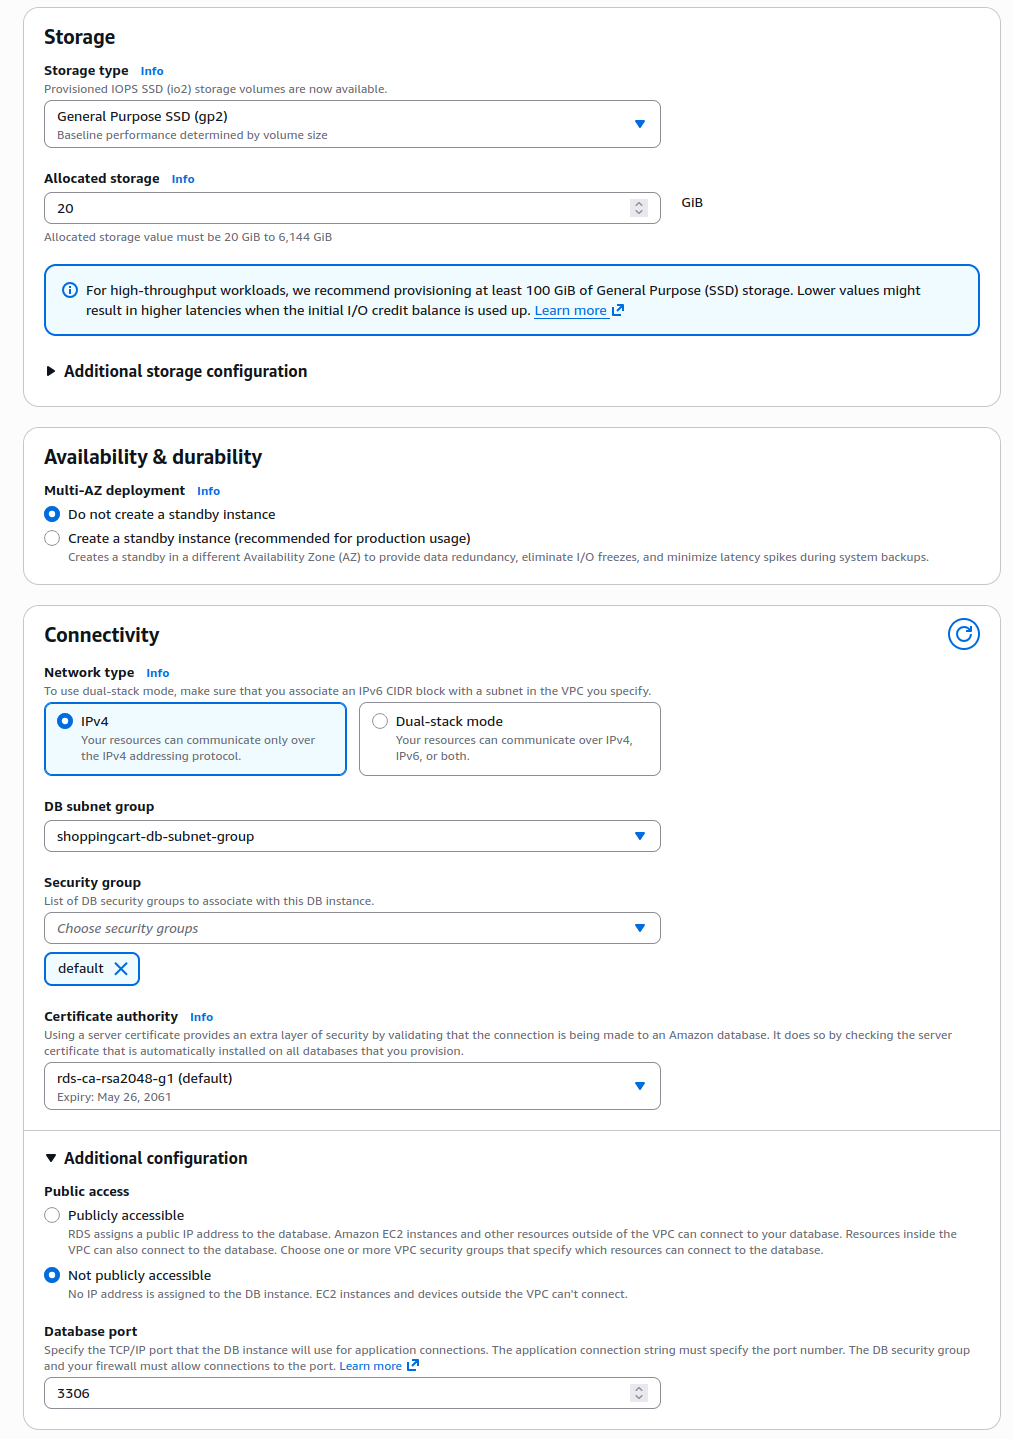
db.t3.micro) if available - Storage: Use General Purpose (gp2), use default storage
- Connectivity:
- VPC:
shoppingcart-vpc - Subnet Group:
shoppingcart-db-subnet-group
- VPC:
- Public Access: NO
Next, we’ll create RDS security group to only allow traffic coming from EC2 which is deployed in the private subnet
- Go to EC2 → Security Groups → Create security group
- Name:
rds-ec2-access - Description: Allow traffic only from EC2
- VPC:
shoppingcart-vpc
- Name:
- Inbound rule:
- Type: MySQL/Aurora
- Source: Security group of private EC2 instance (You can find it in your private EC2 instance > Security tab)
- Outbound rule: Allow all (default)
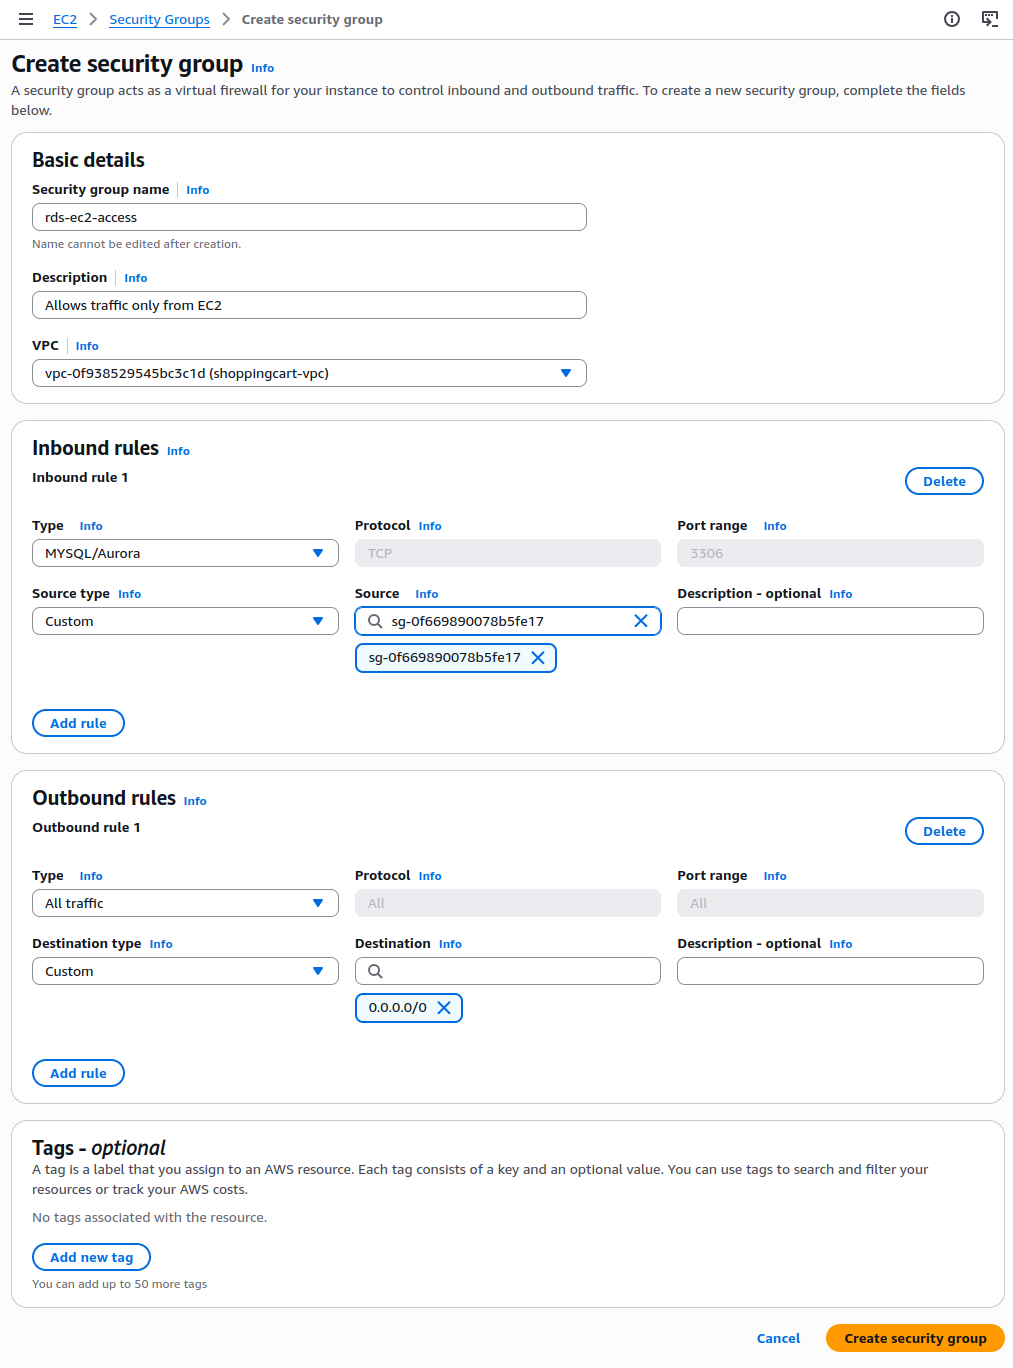
Then return back to the RDS instance configuration page and attach the newly created security group to the RDS instance
Step 2: Setup Secure S3 Bucket
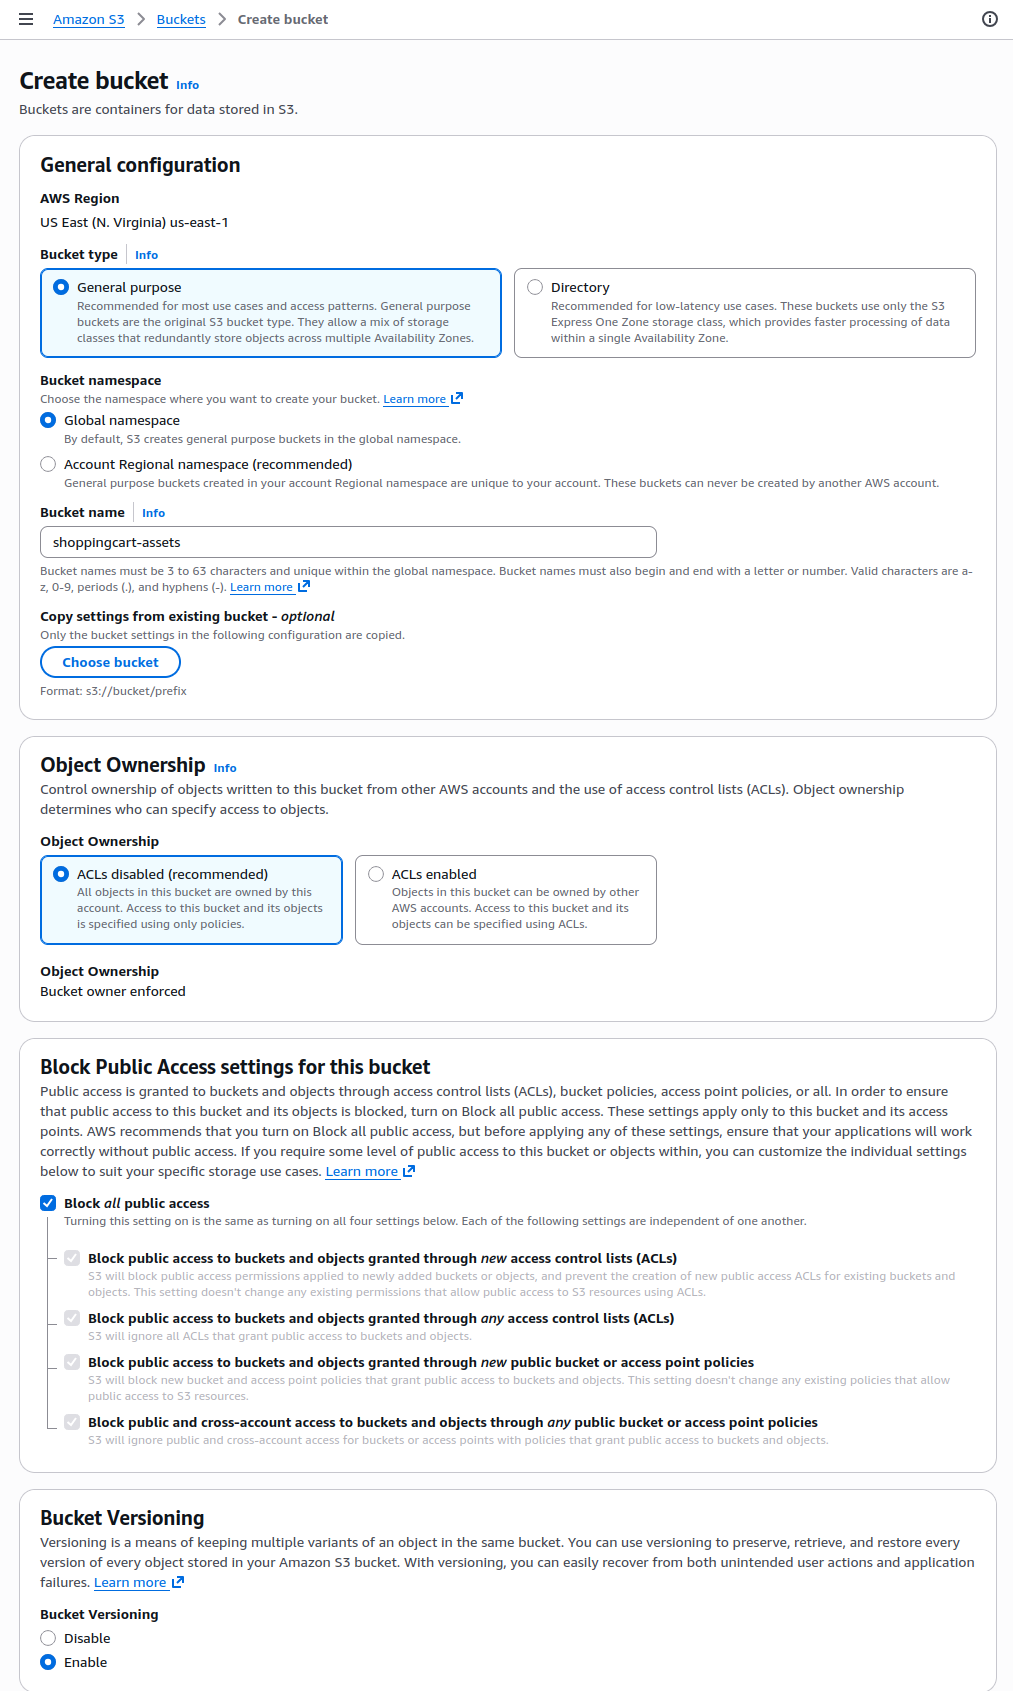
- Navigate to S3 Dashboard, Click Create bucket
- Bucket name:
shoppingcart-assets-123 (mjst globally unique) - Region: Same as your app resources (e.g.,
us-east-1) - Block Public Access: Keep all 4 checkboxes enabled (recommended)
- Enable Encryption: Select SSE-S3 (Amazon S3 managed keys)
- Leave all other options as default
- Click Create bucket
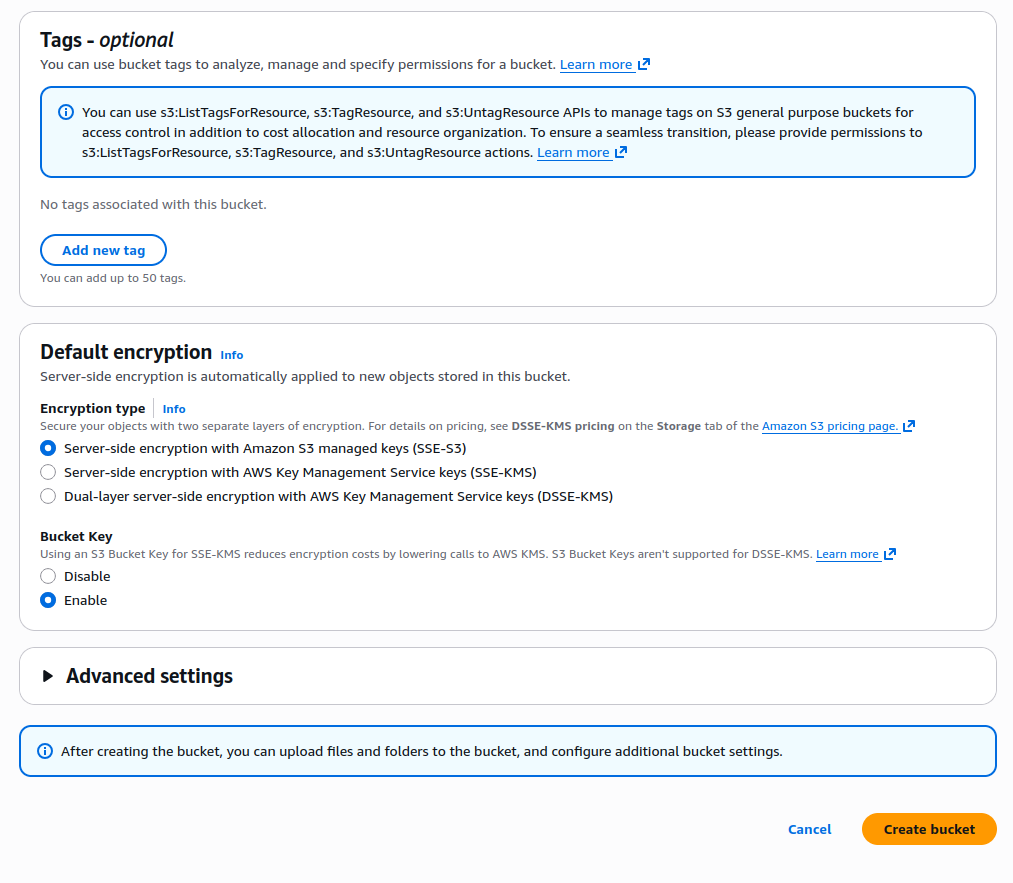
To test whether the bucket is privately deployed, then we can simply upload an object and try to access it
- Click on the newly created bucket
securecart-assets - Go to the Objects tab → Click Upload
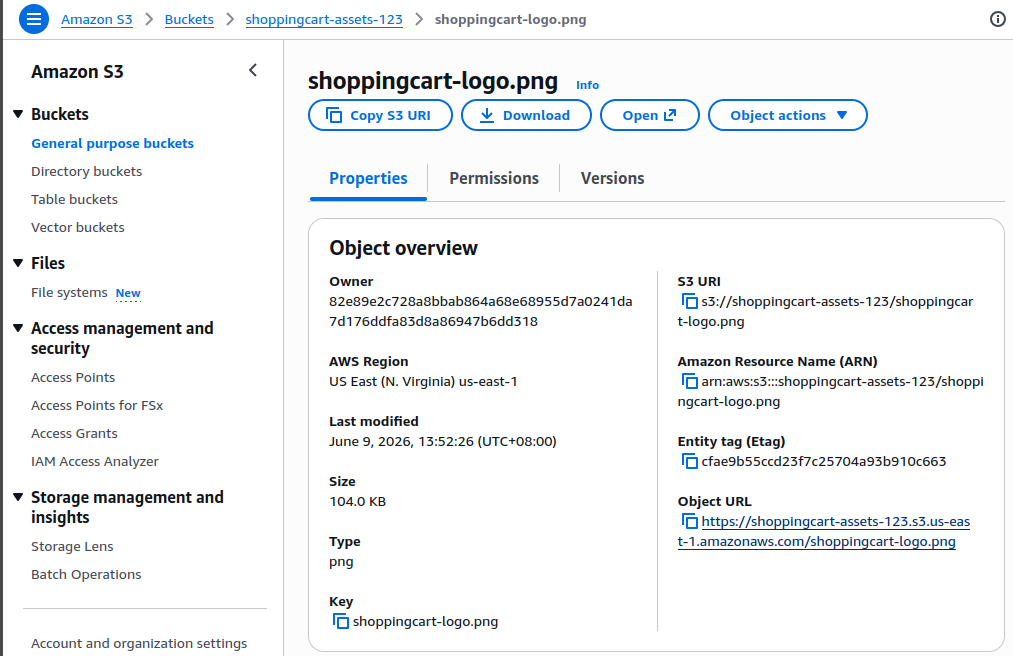
- Add any test files (e.g., an image like shoppingcart-
logo.png) - Click upload
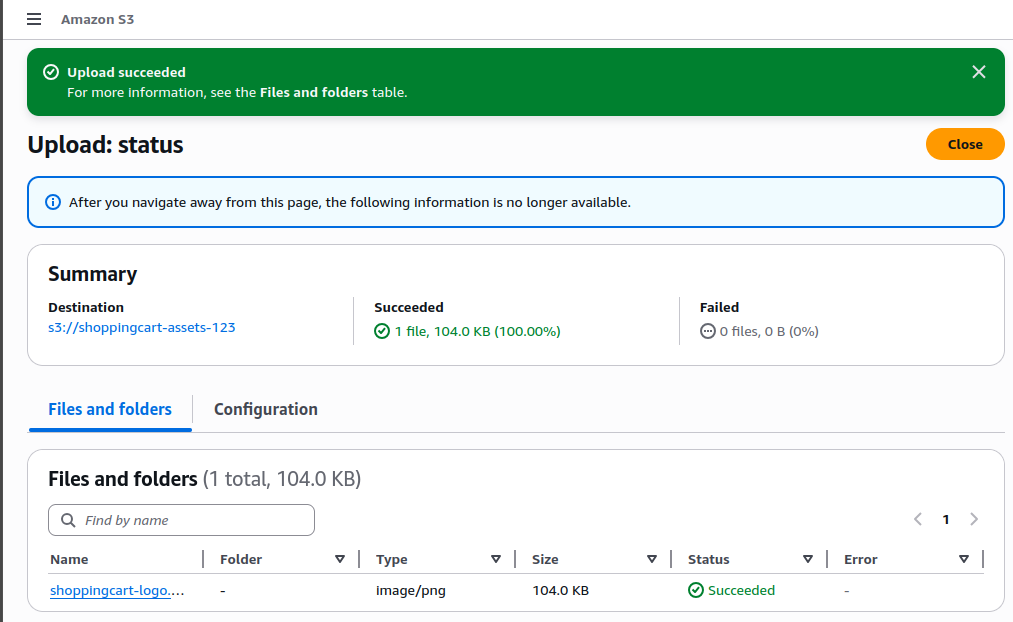
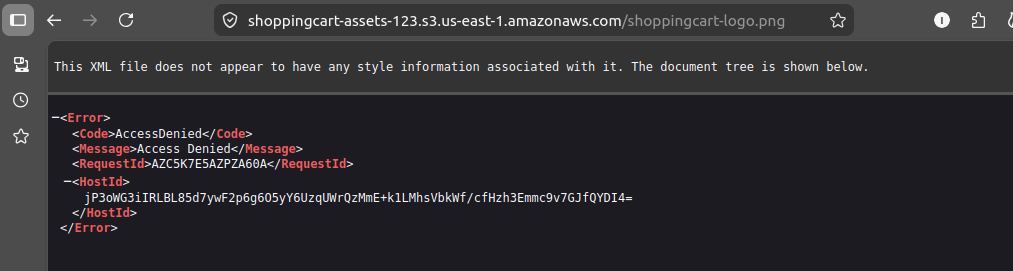
Finally, let’s verify if the bucket access is private
- After upload, click on the file name (e.g.,
shoppingcart-logo.png) - Copy the Object URL
- Open it in a new incognito/private browser tab
- We should see Access Denied, confirming the bucket is private
Summary
In this chapter we have setup a secured database and storage tiers to ensure static assets are securely stored and only accessible through IAM-controlled access policies or backend services.
In the last part, we’ll enable the AWS WAF to strengthen the application-layer security